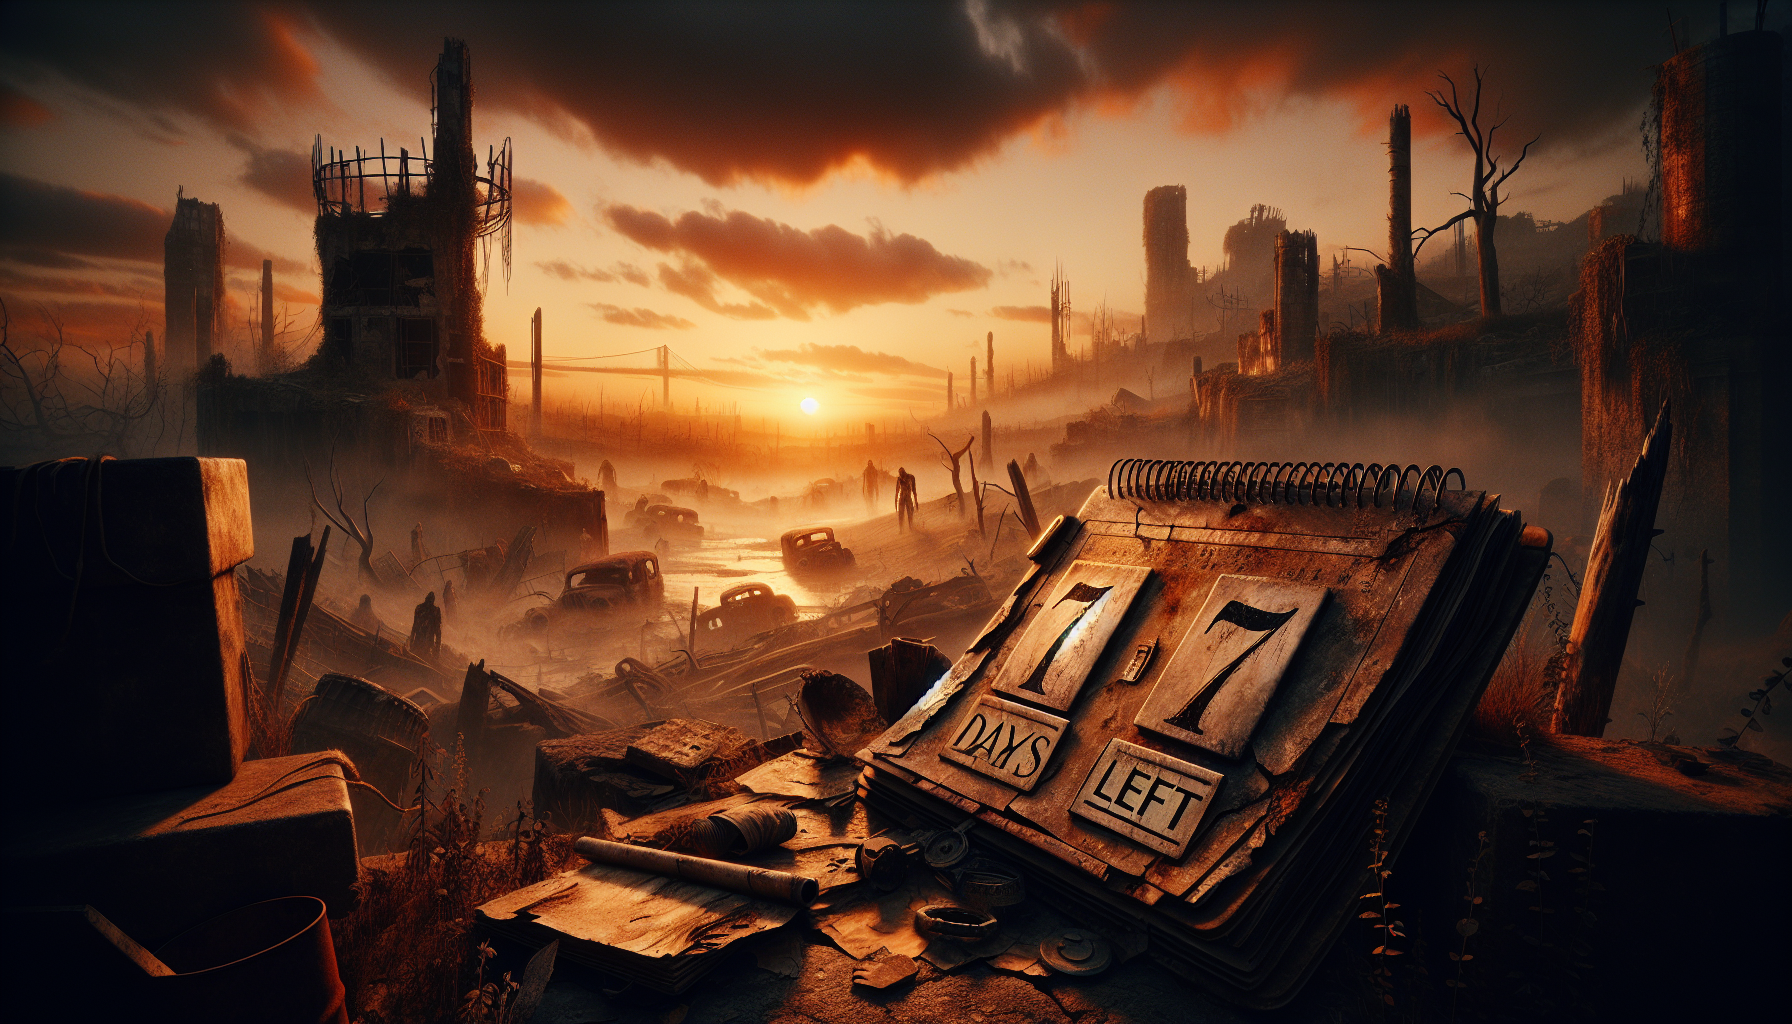
Welcome, fellow survivor, to the harrowing world of "7 Days to Die" — a place where wit, cunning, and a handy Molotov cocktail can mean the difference between life and a very unsettling death. Whether you're a seasoned player or just getting your boots dirty, learning how to craft these fiery concoctions will be pivotal in your battle against the undead hordes. Let's embark on this journey to not only create these incendiary devices but master their use to clear the droves of zombies standing between you and your next breath.
Ingredients for Molotov Cocktails
The Molotov cocktail, your handy-dandy zombie crowd control, requires a few key ingredients that you'll need to scavenge amidst the apocalypse. Picture this: you're rummaging through dilapidated houses, praying that rogue zombies don’t crash your search party. But what exactly are you hunting for?
-
Empty Glass Jars: You’ll find these everywhere—from kitchens to old sheds. Like winning a little survivor's lottery, these jars are the backbone of your Molotov cocktail.
-
Gasoline: Scour the garages, head to the abandoned farms, or raid those derelict vehicles—gas pumps are also a great find if you can grab a siphon. For those looking to expand their resource strategies, consider learning how to farm resources without attracting zombies.
-
Cloth Fragments: Your trusty cloth fragments can be sourced from old clothes, curtains, or those eternal pillowcases. They’re necessary for that makeshift fuse.
-
Crafting Bench: While not an ingredient per se, having a crafting bench streamlined the process in my own escapades—trust me, you don't want to be piecing things together in a rush.
Rhetorical note: Can you smell the searing anticipation in the air already? If each of these ingredients is indeed a small cog in the larger machinery of survival, mastering the art of scavenging might as well be your first task. For a comprehensive guide on locating high-value loot, check out how to locate high-value loot areas.
The Crafting Process
Now, suppose you're all set with your burning supplies – let's transform those raw materials into weapons of mass-zombie destruction.
-
Prepare Your Workspace: Clear out your crafting area. It's crucial to work in peace without the threat of a sudden zombie dance-off.
-
Assembly Point: Combine your empty glass jar and gasoline, utilizing the crafting screen. Voilà, you now hold a volatile piece of art in your hands. For new players, understanding how to prioritize crafting for early survival can be particularly helpful.
-
Add the Cloth Fragment: Use the cloth fragment as a wick. Place it into the gasoline-filled jar, and you have created your very own Molotov cocktail. Make sure the crafting menu doesn’t distract you too long—there can be plenty of action on the sidelines.
-
Storage Consciousness: Molotov cocktails are as fragile as they are fiery. Ensure they're stored safely in your inventory to withdraw at the opportune moment.
A quick word from the wise: don’t beeline straight to deploying Molotov cocktails without preparation. Forgetting to craft these in advance during one game session left me overwhelmed with zombies, akin to a sardine in a can. Not a situation you want to find yourself in!
Strategic Use in Combat
While the creation of Molotov cocktails is relatively straightforward, wielding them in battle takes a pinch of strategy, a sprinkle of timing, and heaps of adrenaline-soaked precision.
Targeting the Horde
Molotov cocktails are built to usher chaos into dense zombie gatherings, maximizing damage across multiple assailants. Picture yourself poised atop a fortified wall, raining flames upon the zombified throng below. It’s not just about eliminating threats — it’s about sending a blazing message to their buddies. For additional defense strategies, you might want to explore how to set up the best base defenses.
Strategic Deployment
Ever hear that the best offense is a good defense? When zombies corner you in a tight spot, tossing a Molotov can swiftly swing the odds in your favor. Aim just ahead of charging zombies for maximum impact—a burning path they can't avoid.
Environmental Factors
Consider the environment around your point of attack. Wooden structures and Molotov cocktails are an incendiary affair waiting to erupt. Avoid turning your outpost into a pyrotechnic display. Moreover, the explosion will dissipate quickly in the rain or snow; use them under suitable conditions for heightened effect. If you’re battling environmental challenges, check out how to survive in the snow biome.
Ammo Conservation
With limited supplies and potentially lengthy crafting sessions, it's wise to conserve Molotov cocktails for when you most need them. Should you find yourself in peak peril or against especially entrenched undead forces, mull over using alternatives when the horde is manageable. It’s an age-old survival tale: don’t shoot all your arrows at once. For more tips on managing resources, take a look at how to manage your inventory space.
Wrapping Up
As our sun begins to set over this pixelated world, remember that in "7 Days to Die," survival is an art. Crafting weapons like Molotov cocktails not only equips you with an arsenal of fiery doom but also imparts survival instincts unique to you.
Remember, skillful use of these cocktails will help you dominate the narrative, not just survive the night. So, what are you waiting for, comrade? It's time to wield your newfound fiery prowess and set ablaze your path to survival!
Call to Action: Feeling inspired by this explosive masterclass? Dive back into the game, arm yourself with freshly-crafted Molotov cocktails, and share your epic zombie-slaying tales in the comments below. Happy flaming, survivor!


